From Scraps to Soil: Your Easy Guide to Composting at Home.
Ever wondered what to do with all those food scraps, garden clippings, and paper bits?
Composting at home is one of the simplest ways to reduce waste, nourish your garden, and give back to the planet, without needing to be a gardening pro.
At home, there’s no better way to combat food waste than composting. It takes some effort, but nature does all the hard work for you.
Nature already has a genius system in place: nothing goes to waste. When a leaf falls, it breaks down and returns to the soil, feeding the next generation of growth.
With composting, we can do the same, turning yesterday’s leftovers into tomorrow’s lush garden bed.
Not only does composting keep food waste out of landfills, it also keeps methane out of the atmosphere.
Whether you’re working with a full backyard or a tiny corner on a balcony, here’s everything you need to start composting like a champ.
1. Getting Started: Bin, Pile, or Both?
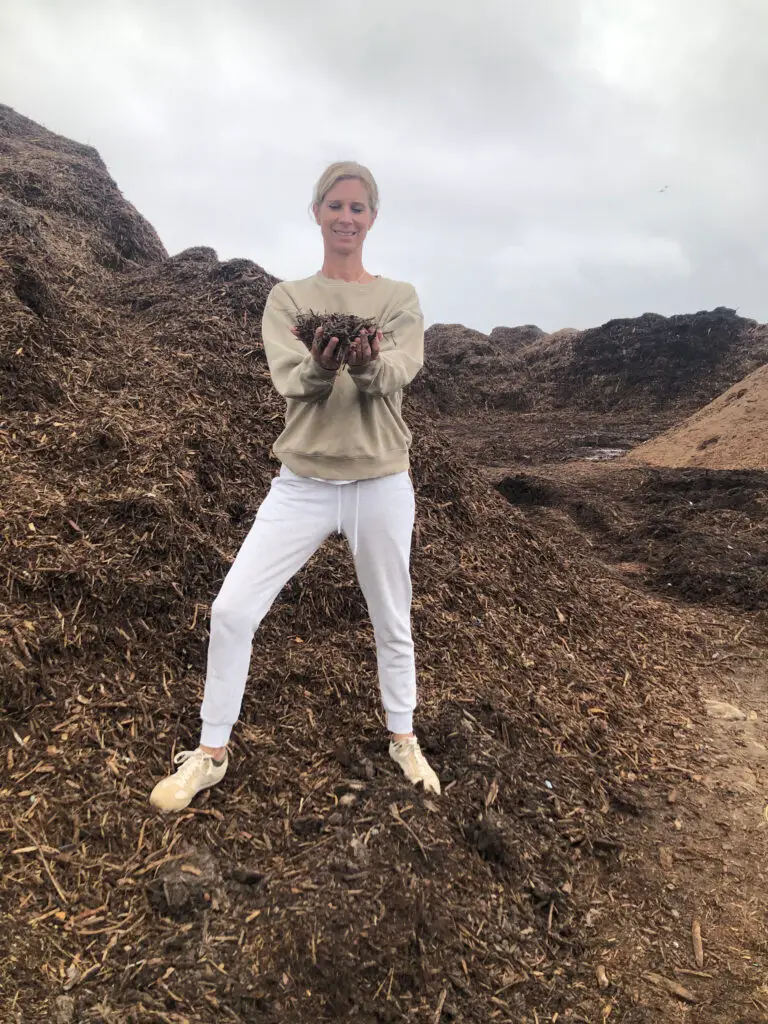
First things first: choose your composting style. You can go classic with an open compost pile or opt for a contained bin (great for keeping things tidy while keeping out little critters). Store-bought or DIY, both options get the job done!
2. Find The Right Spot
- Location matters! Look for a flat, accessible area with good drainage.
- In cooler climates, place your compost in a sunny area to help it stay warm.
- In hot, dry climates, a bit of shade keeps it from drying out too quickly.
3. The Secret Formula: Browns & Greens
- A thriving compost pile needs the right balance of two key ingredients:
- Greens (Nitrogen-rich) – Think food scraps, coffee grounds, tea bags, fresh grass, herbs, and veggie peels.
- Browns (Carbon-rich) – Paper, dry leaves, cardboard, straw, sawdust, nut shells.
The art of composting rests on balancing these groups.
4. Scrap Collector Set-Up
Make composting a daily habit by collecting food scraps in a dedicated container. Try a countertop bin, an old pot with a lid, or keep scraps in the freezer to prevent smells.
5. Don’t Forget Your Browns
Browns are often forgotten, but they’re crucial. Collect and store brown materials to keep them dry, for example in a brown paper yard bag in a shed or garage or in an aluminium bin with a lid near the compost pile.
6. Building Your Pile
Build your pile in layers:
- Start with a 4- inch layer of sticks or straw for airflow.
- Add a layer of dry leaves and a layer of finished compost.
- Add your Greens (Nitrogen-rich) (kitchen scraps, grass).
- Add your Browns (Carbon-rich).
- Repeat the layering and mix now and then to keep things active.
This layered approach helps create airflow and balance, speeding up the composting process.
A good rule of thumb? Add 4 times as much carbon-rich ingredients as nitrogen-rich ingredients (in volume, not weight).
7. Keep It Moving (and Moist)
While you could leave your compost to decompose on its own , a little bit of maintenance goes a long way to speed up the process. For example, when you add fresh materials, be sure to mix them with the layers below it. Also, keep compost the consistency of a rung-out sponge – moist but not too soggy. Too dry? Add a splash of water or fresh greens. Too wet? Toss in more browns like paper or cardboard.
Turning your compost once a week adds oxygen and prevents smells.
8. Want to Speed Things Up? Invite Nature’s Helpers
Worms, insects, fungi and bacteria love compost.
The easiest ways to add these materials is via mushroom manure, well-rotted manure (not pet waste), healthy garden soil.
You can also buy a compost accelerator if you’re eager for faster results.
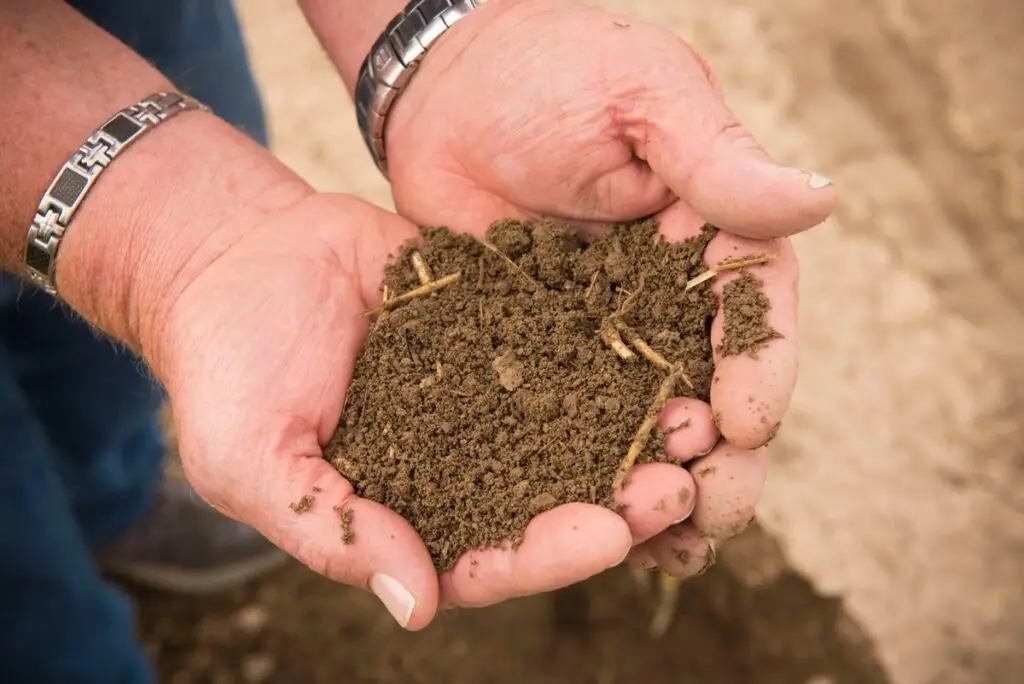
9. When It’s Ready To Use
Finished compost looks dark, feels crumbly, and smells earthy. Depending on conditions, it can be ready in as little as two weeks, or up to a year.
Use it to:
Enrich your veggie garden
Mulch around trees and shrubs
Boost your lawn
Feed your houseplants
Brew compost tea for an extra plant boost
What You Can Compost At Home
Fruit & Veggie scraps
Coffee grounds & tea bags
Crushed Eggshells
Nut shells
Shredded newspaper & cardboard
Plain paper (no glossy finish)
Yard trimmings, grass, leaves, straw
Houseplants
Wood chips & sawdust
Wooden toothbrush handles
Cotton/wool rags
Dryer and vacuum cleaner lint
Hair, fur and nail clippings
Fireplace ashes
What To Leave Out
Black walnut tree leaves or twigs
Coal or charcoal ash
Dairy products
Eggs – the whole egg, not the shell.
Diseased or insect-ridden plants
Fats, grease, lard, or oils
Meat, bones, fish
Pet waste & Cat litter
Sand
Garden trimmings treated with chemicals
Coloured or glossy paper
*Please note: this advice relates to home composting and worm farms, not commercial council collection