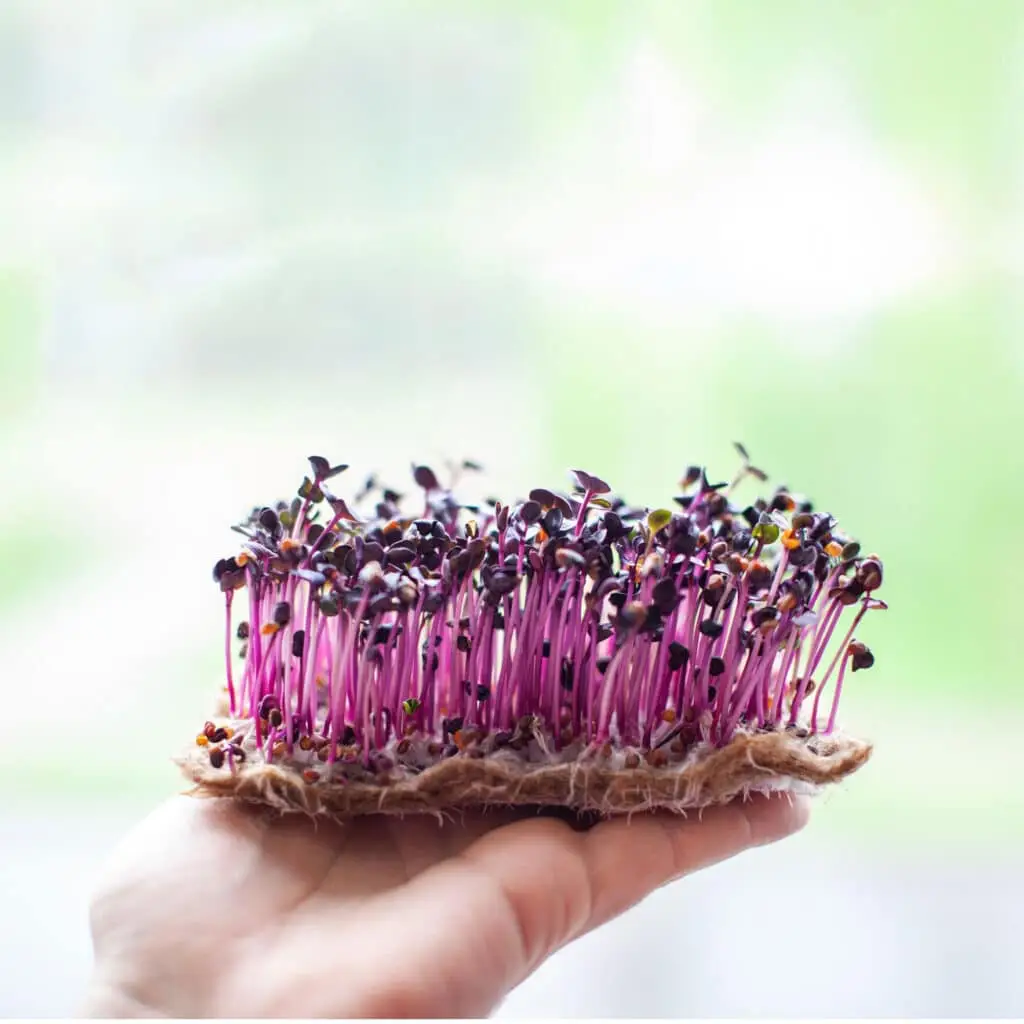
"We loved watching our greens grow and couldn't believe how great they tasted and how easy it was! :)"
"Great job Microgarden!
As always, wonderful product. Packaging of the kit is superb, awesome for sending as a gift. Immediately started and it was just excellent and had yummy greens within a week.
"Super easy to use!!
I bought these to grow inside. And they are WONDERFUL!! 🤩 I loved them so much I bought a second kit. Pretty sure they will even fit on the smallest of window sills."
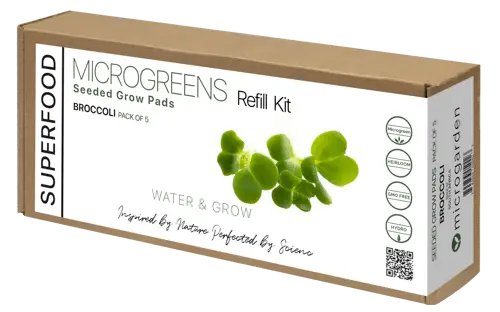
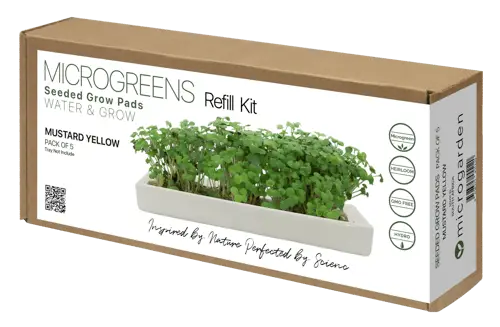
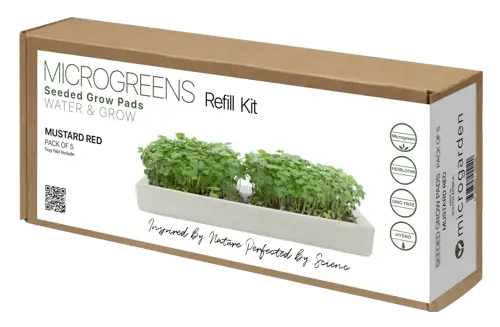
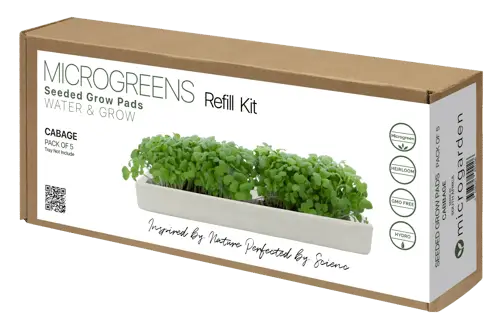
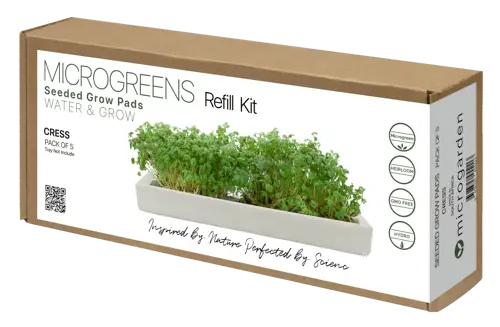
Product Info:
Organic seeds.
Biodegradable fibers.
Free of preservatives.
High Quality Heirloom Seeds.
Why our Seeded Grow Pads
Locally made.
Trusted quality!
100% biodegradable.
Zero waste.
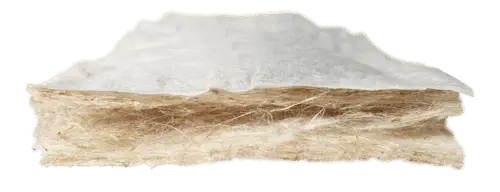
Seeded Grow Pad Info:
Our Seed Pads are the result of years of research and testing . Specifically developed to facilitate easy germination of microgreens . Unique composition allows for excellent water-to-air ratio & re-wet capabilities. Perfectly balanced PH and EC value. South African Heirloom Seeds used in our Microgreen Seed Pads . No pesticides , fungicides or hormones used. Water & Grow. 100% biodegradable. Zero waste.
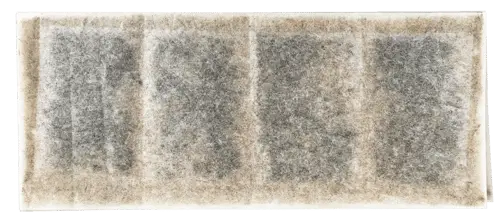
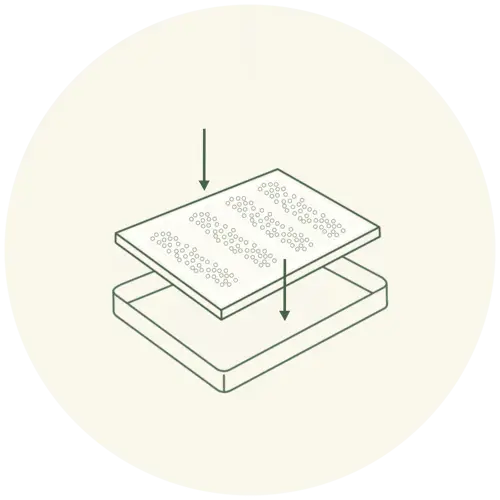
Meet our Seeded Grow Pad
Paper
Biodegradable Pad
Seed pocket
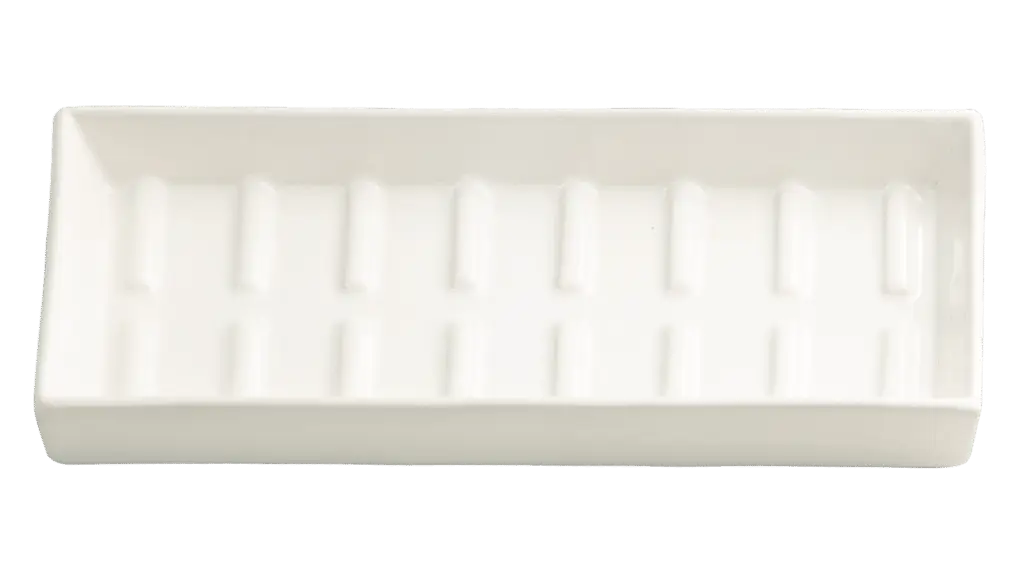
Meet our Microgreen Growing Tray
Water storage pocket
Supporting Ribs
Designed by Microgarden and fit perfectly for our seeded grow pads. The stoneware is made at our local Clay Cafe in Houtbay. Seed Pad supporting ribs allows for excellent water-to-air ratio & re-wet capabilities. 100% natural. Microwave, oven and dishwasher safe! Zero waste.
How does it work ?
1
Place the Seed Pad into the stoneware bowl.
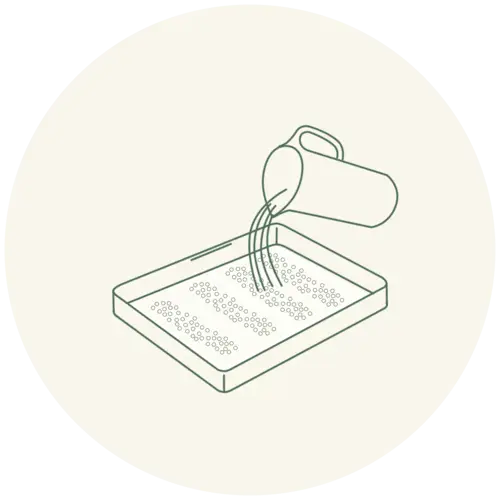
2
Fill the stoneware bowl with water up to the mark.
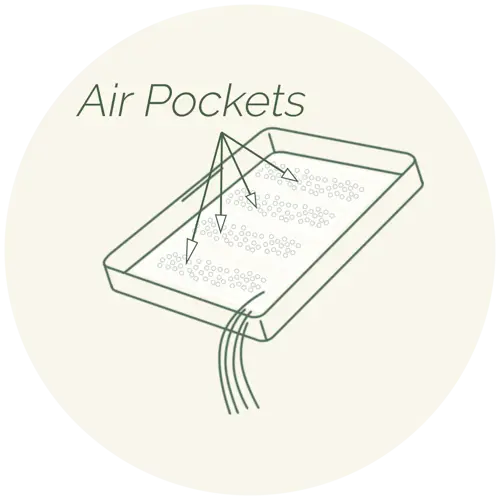
3
Once saturated, remove excess water from the tray, this creates air bubbles in the seed pockets .
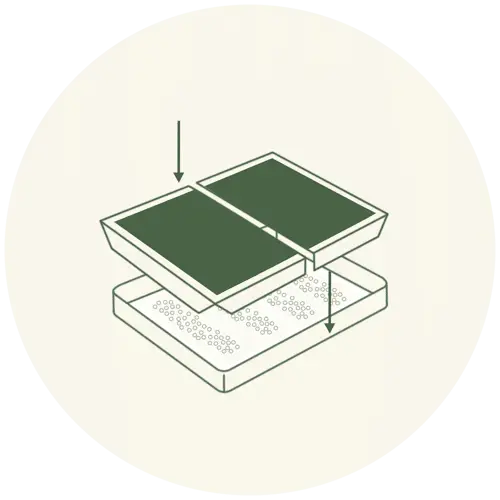
4
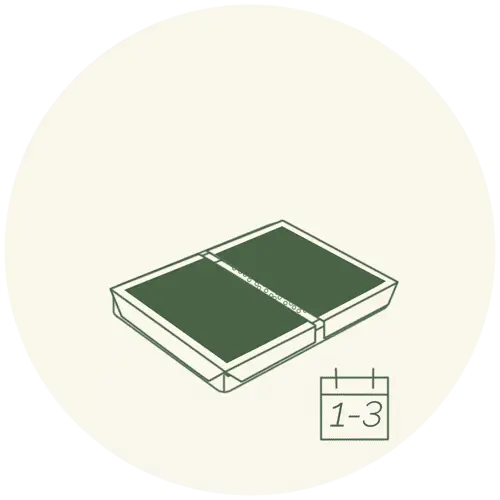
Place the carton cover over the Seed Pad.
5
Let the microgreens germinate in peace and quiet at room temperature for at least 3 days.
6
After 3-4 days, you can remove the cover from the bowl.
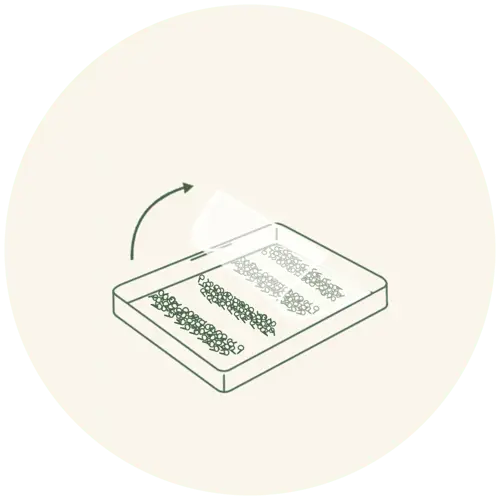
7
When the seeds are pushing against the paper cover and causing the sections to puff up or balloon, peel the paper cover.
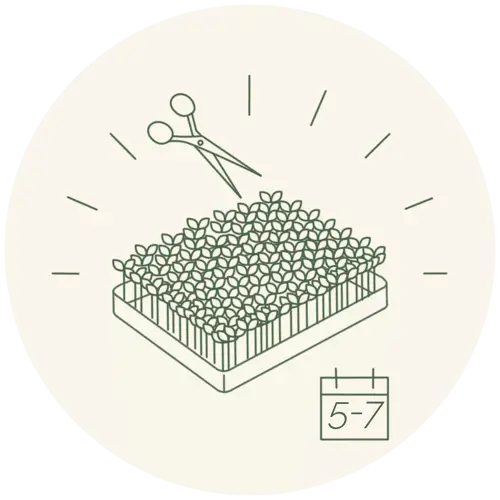
8
After 5-7 days you can harvest and enjoy your microgreens.